Woodfloors
Menu

Services

Floors, staircases and worktops.

We take the whole job, from the old floor still being down to the new one dry and the skirting back on. Below is what each part includes.

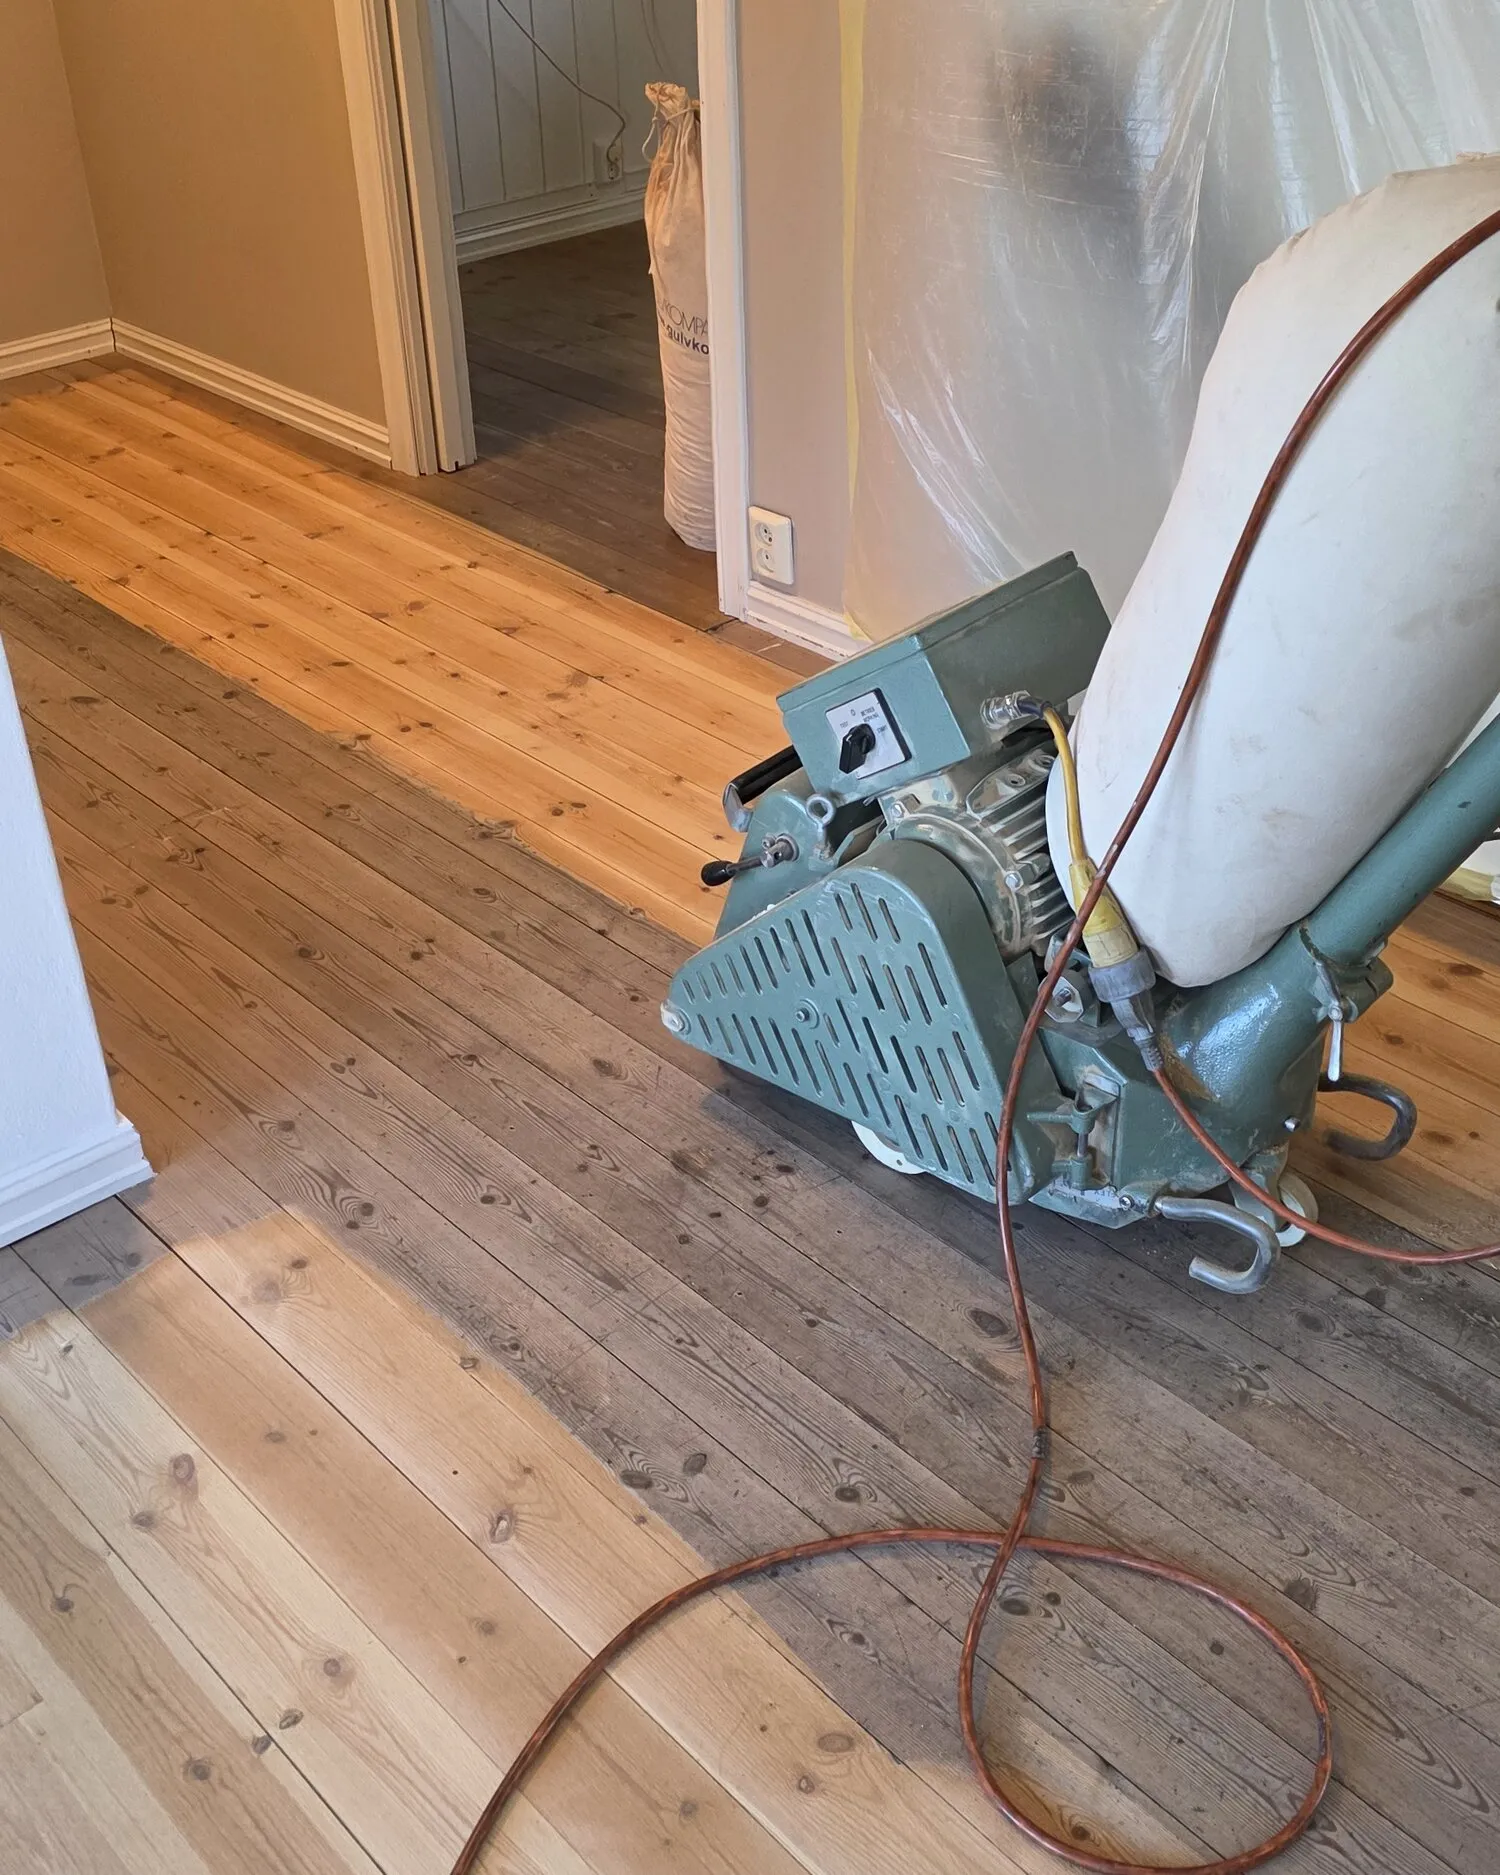
Sanding machine mid-room, with a clear line between sanded and unsanded floor
01

Floor sanding

We sand parquet and solid wood back to fresh timber, so the floor gets back the colour and grain it had when it was new.

A wooden floor will usually take several sandings over its lifetime. If the wear layer is thick enough, sanding is both cheaper and better looking than laying a new floor.

We start by measuring the wear layer and looking at any damage. If the floor is too thin to sand, we say so straight away rather than cutting through the boards.

  • Parquet, block parquet and solid oak, ash, pine and beech
  • Step by step from coarse to fine grit for an even result
  • Dust extraction on the machines, so most of the dust never reaches the room
  • Edges and corners done by hand where the machine cannot reach
More about floor sanding
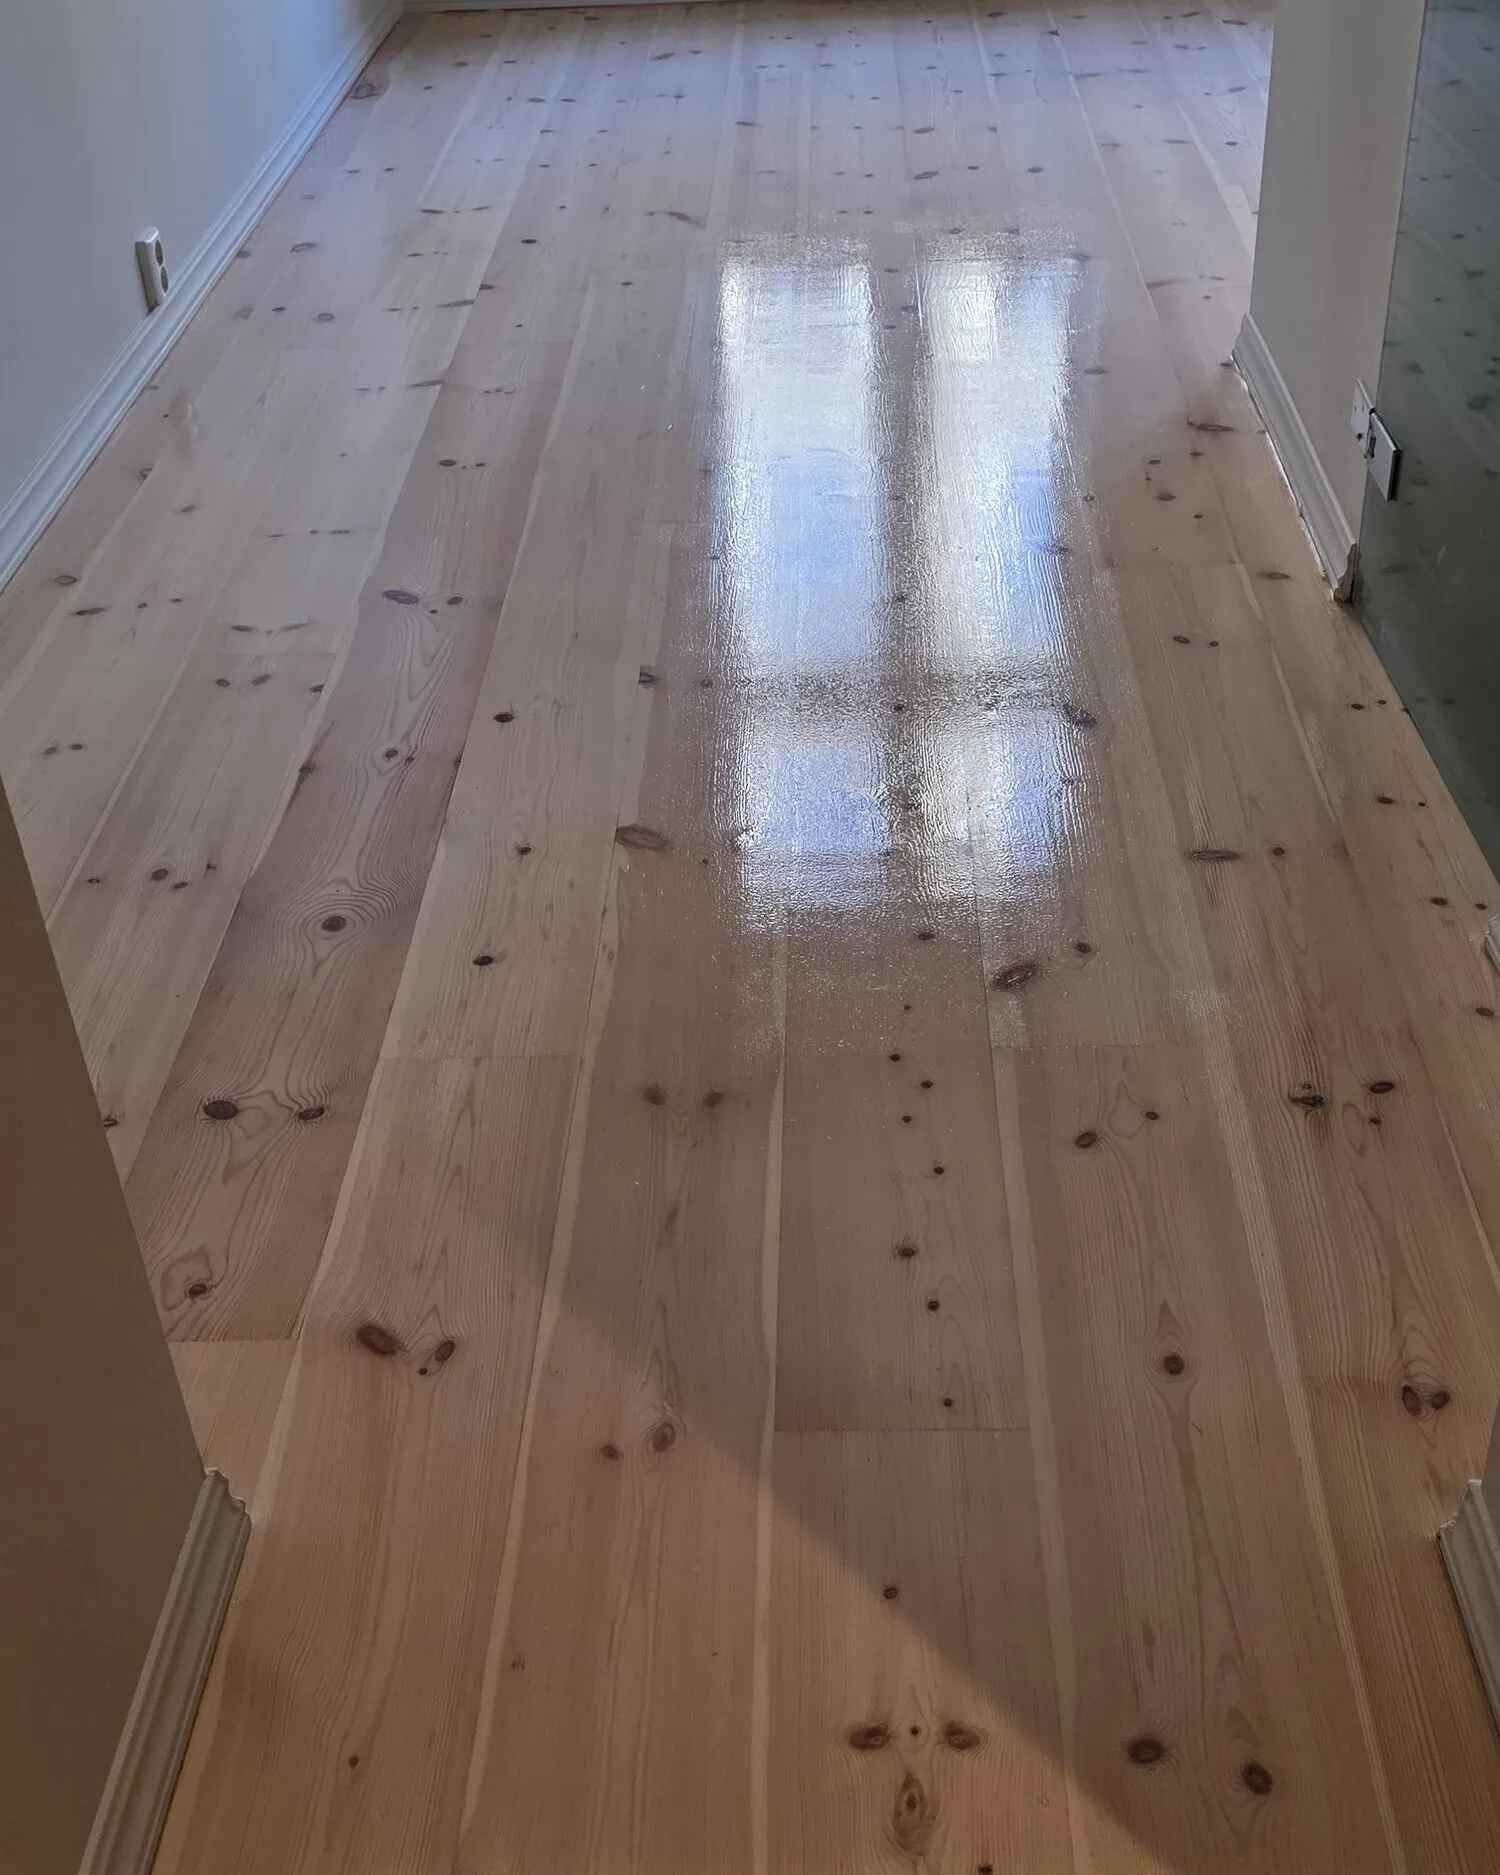
Freshly lacquered pine floor reflecting the light from the window
02

Lacquering and oiling

After sanding comes the finish, which decides both how long the floor stays looking good and how it reads in the room.

Lacquer gives a hard, sealed surface that takes a lot of traffic and is easy to clean. Oil soaks into the timber, gives a matter and more living look, and lets you refresh a single worn patch without redoing the whole room.

We go through the difference during the site visit and put sample patches on your own floor, so you can see how they actually behave against your timber.

  • Water-based lacquer in matt, satin or gloss
  • Hardwax oil for a softer look and easy spot repair
  • White pigment for a lighter floor, and colour to suit
  • Three to four coats, with a light sanding between each
More about lacquering and oiling
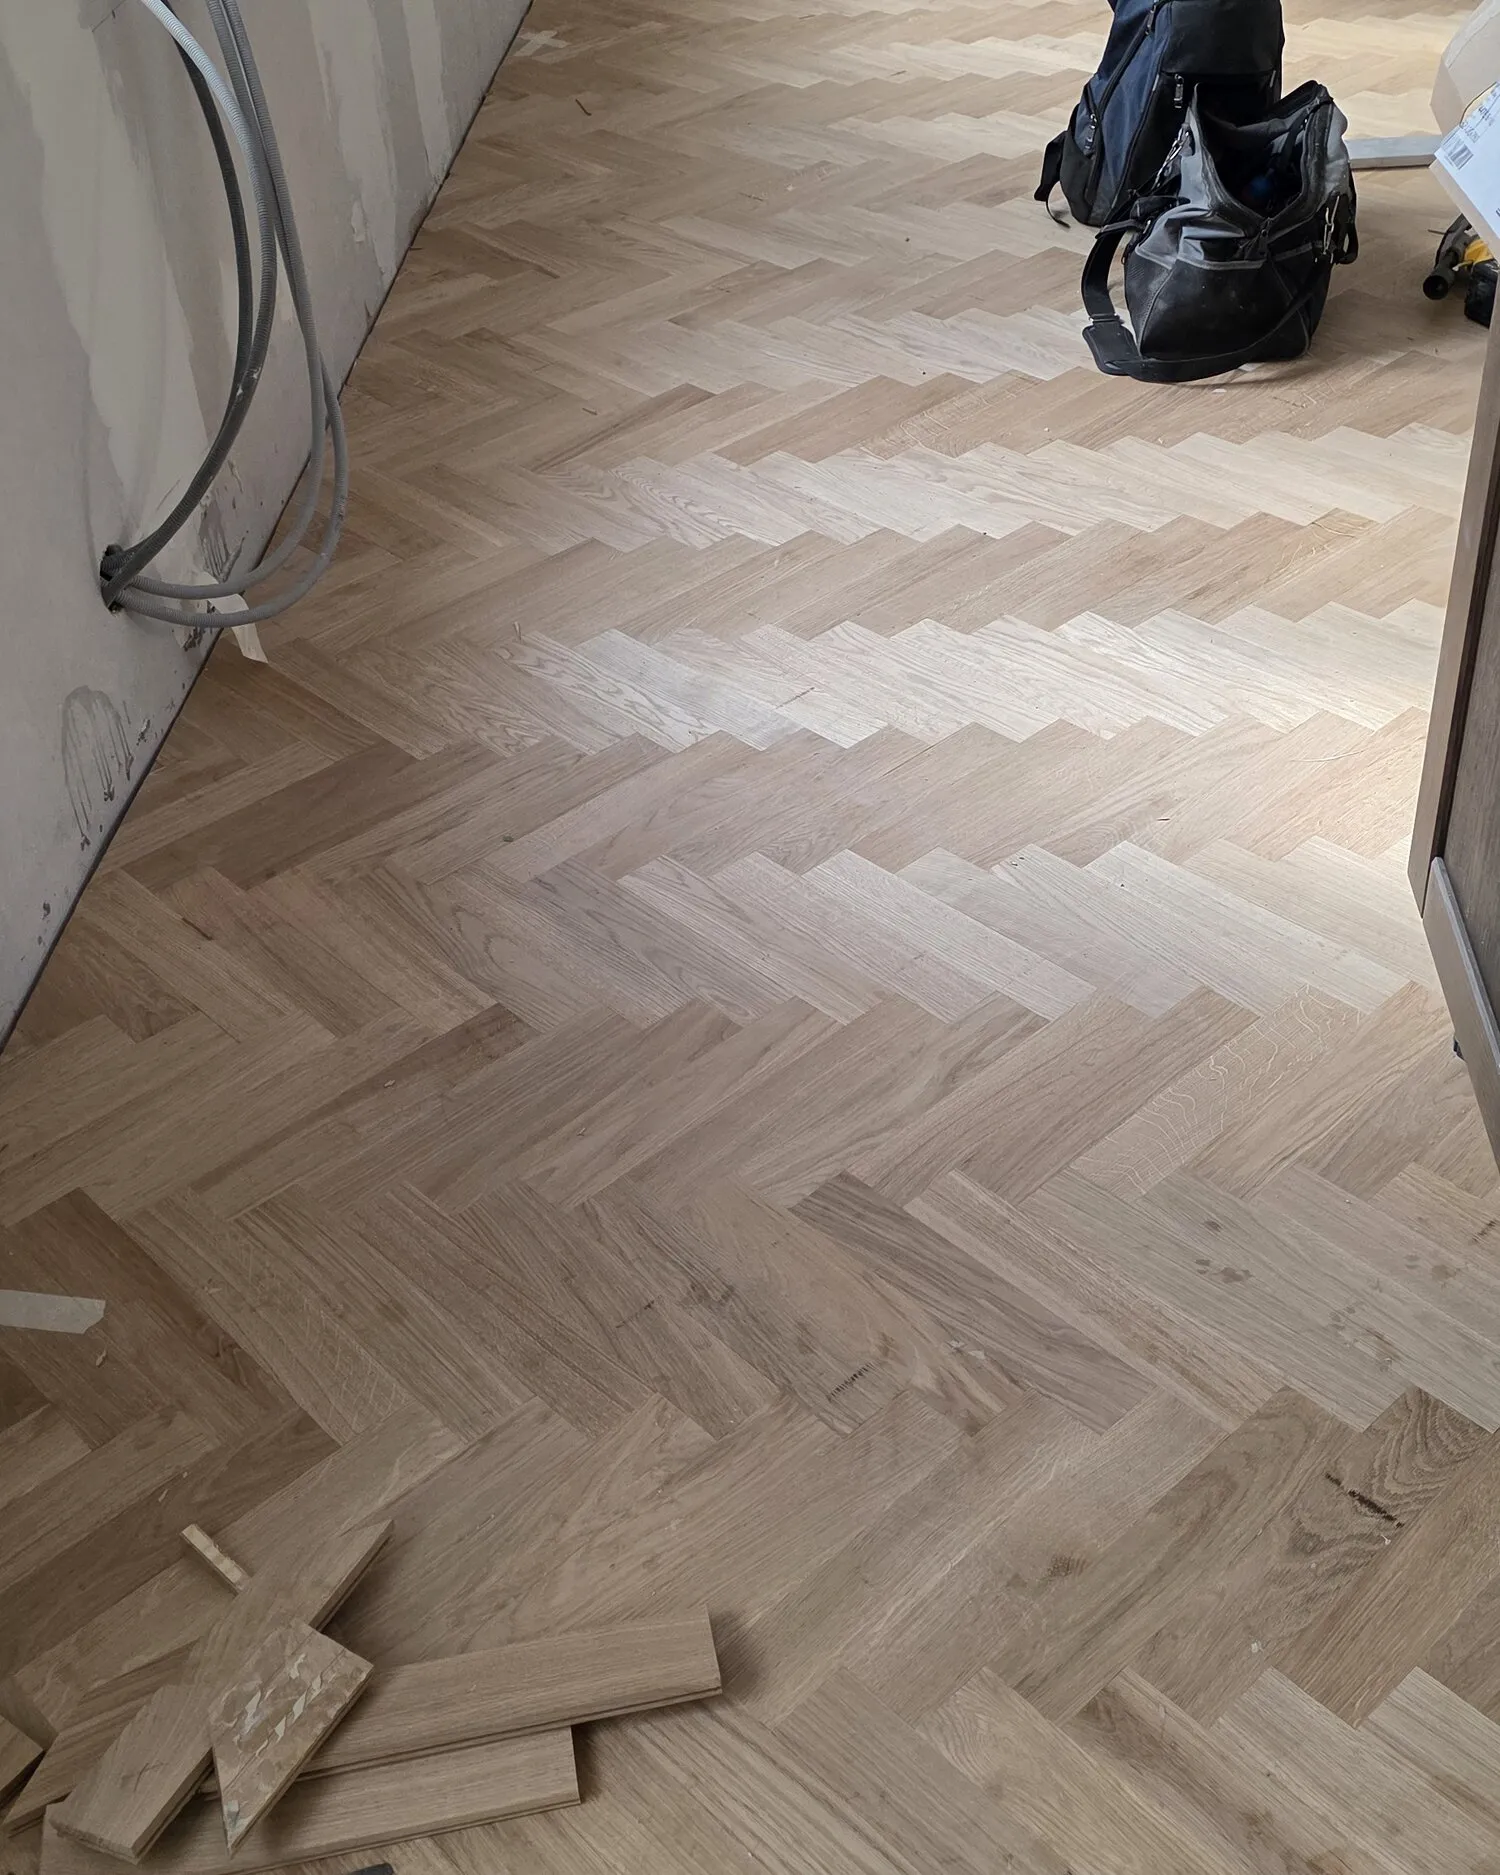
Herringbone parquet being laid into adhesive on the subfloor
03

Floor installation

When the old floor is past saving, we lay a new one: parquet, solid wood or block parquet, matched to the room and the subfloor.

We take out the old floor, prepare the subfloor and lay the new one. The parquet is left to acclimatise in the room before we start, so it does not shrink or swell after it is down.

  • Subfloor checks, moisture testing and levelling where needed
  • Glued, nailed or floating, depending on what the floor needs
  • Herringbone, block patterns and straight boards
  • Skirting, thresholds and transitions finished with the floor
More about floor installation
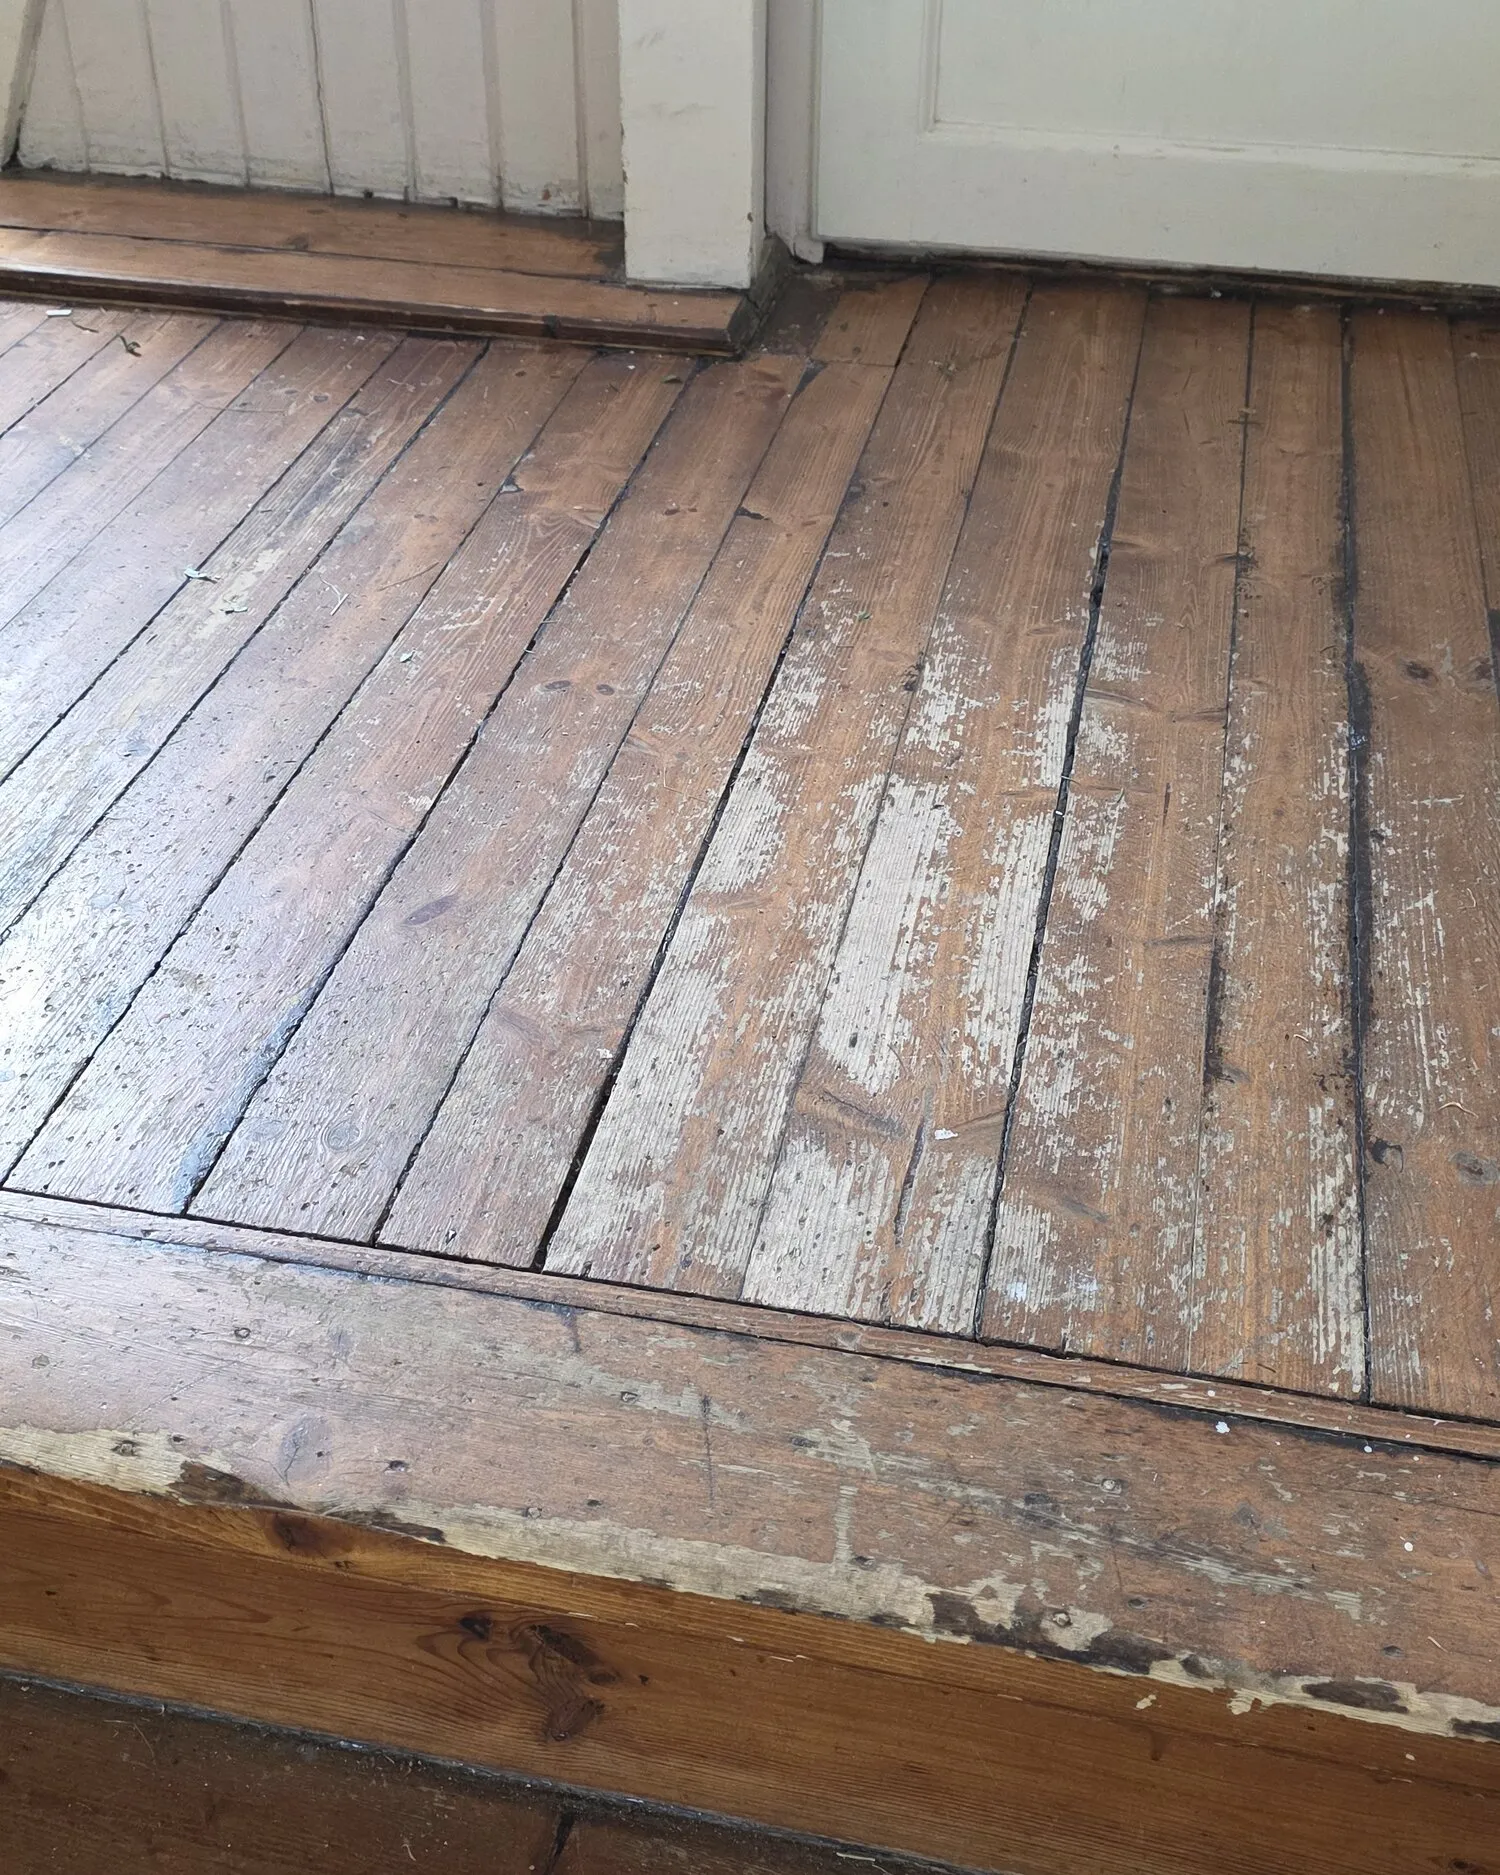
Split boards in an old plank floor before repair
04

Repair and restoration

Damage to an otherwise sound floor rarely means you need a new one. Usually it is enough to replace what is broken.

Older floors usually have more left in them than people think. We look at what can be saved before we recommend laying new, and give you both prices so you can decide for yourself.

  • Replacing single boards after water damage or impact
  • Filling gaps and joints with wood filler in the right colour
  • Removing creaks and fixing loose boards
  • Restoring old floors in period buildings and older houses
More about repair and restoration
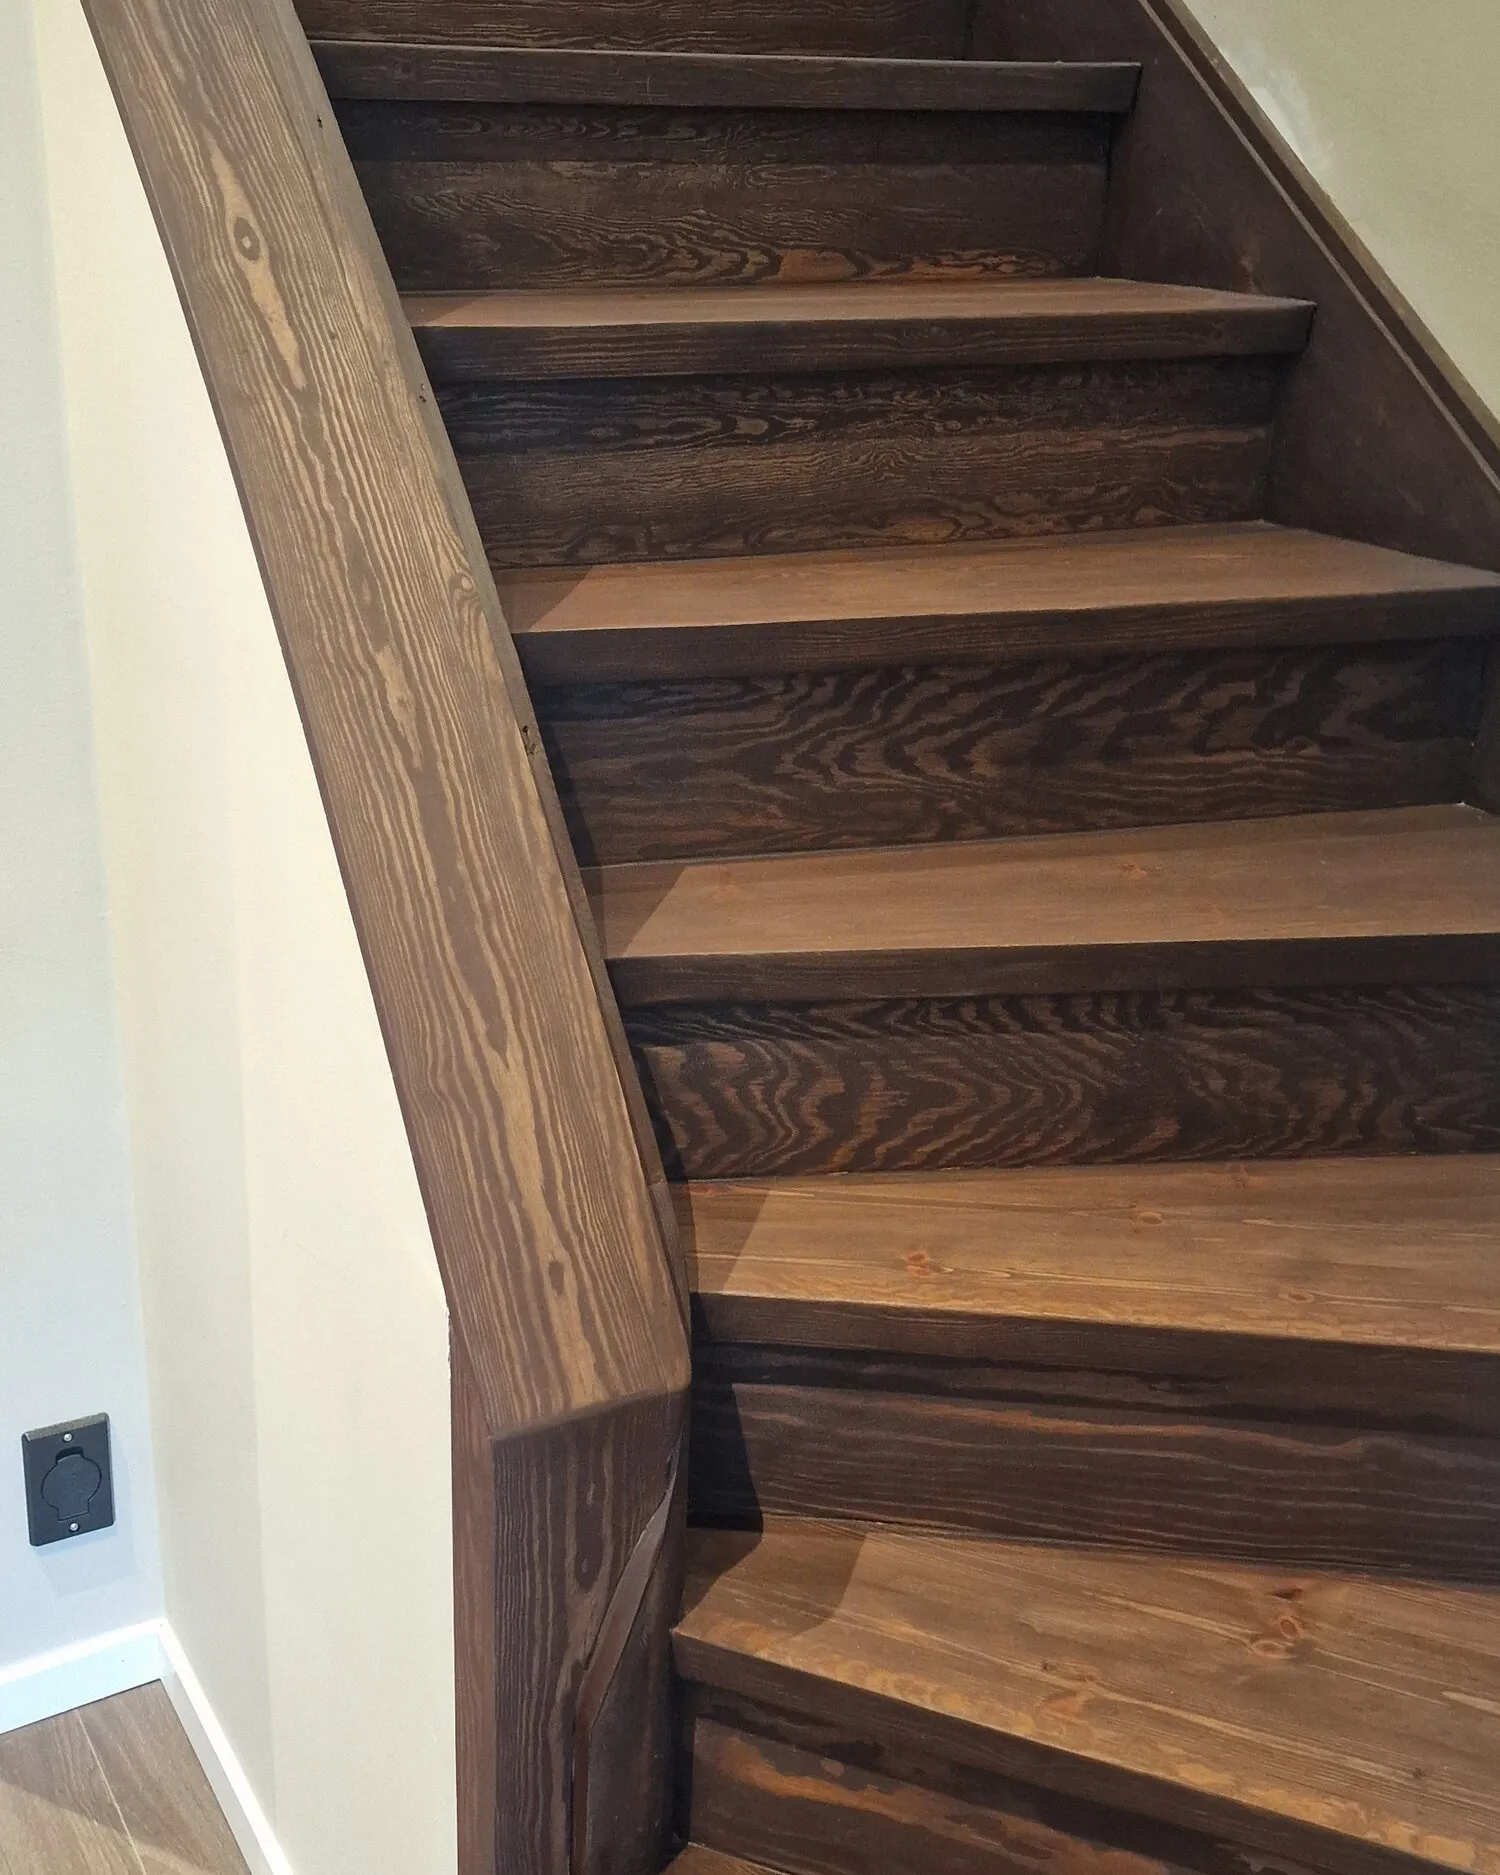
Finished sanded and dark stained wooden staircase, seen from below
05

Staircase sanding

A staircase takes more punishment than any other wooden surface in the house, and it is the first thing people see when they come in. It will usually take another sanding long after it looks finished.

A staircase is among the hardest things to sand. There is little flat surface to work on, a lot of edge, and every tread has a nosing that has to be followed exactly for the transition to come out even.

Treads and risers can be kept in different colours. The contrast makes the stairs easier to read in poor light, which is worth more than people think.

  • Sanding of treads, risers and nosings
  • Stain or pigment for darker or lighter treads
  • Hard-wearing lacquer that takes shoes and vacuum cleaners
  • Creaks and loose treads fixed before the finish goes on
More about staircase sanding
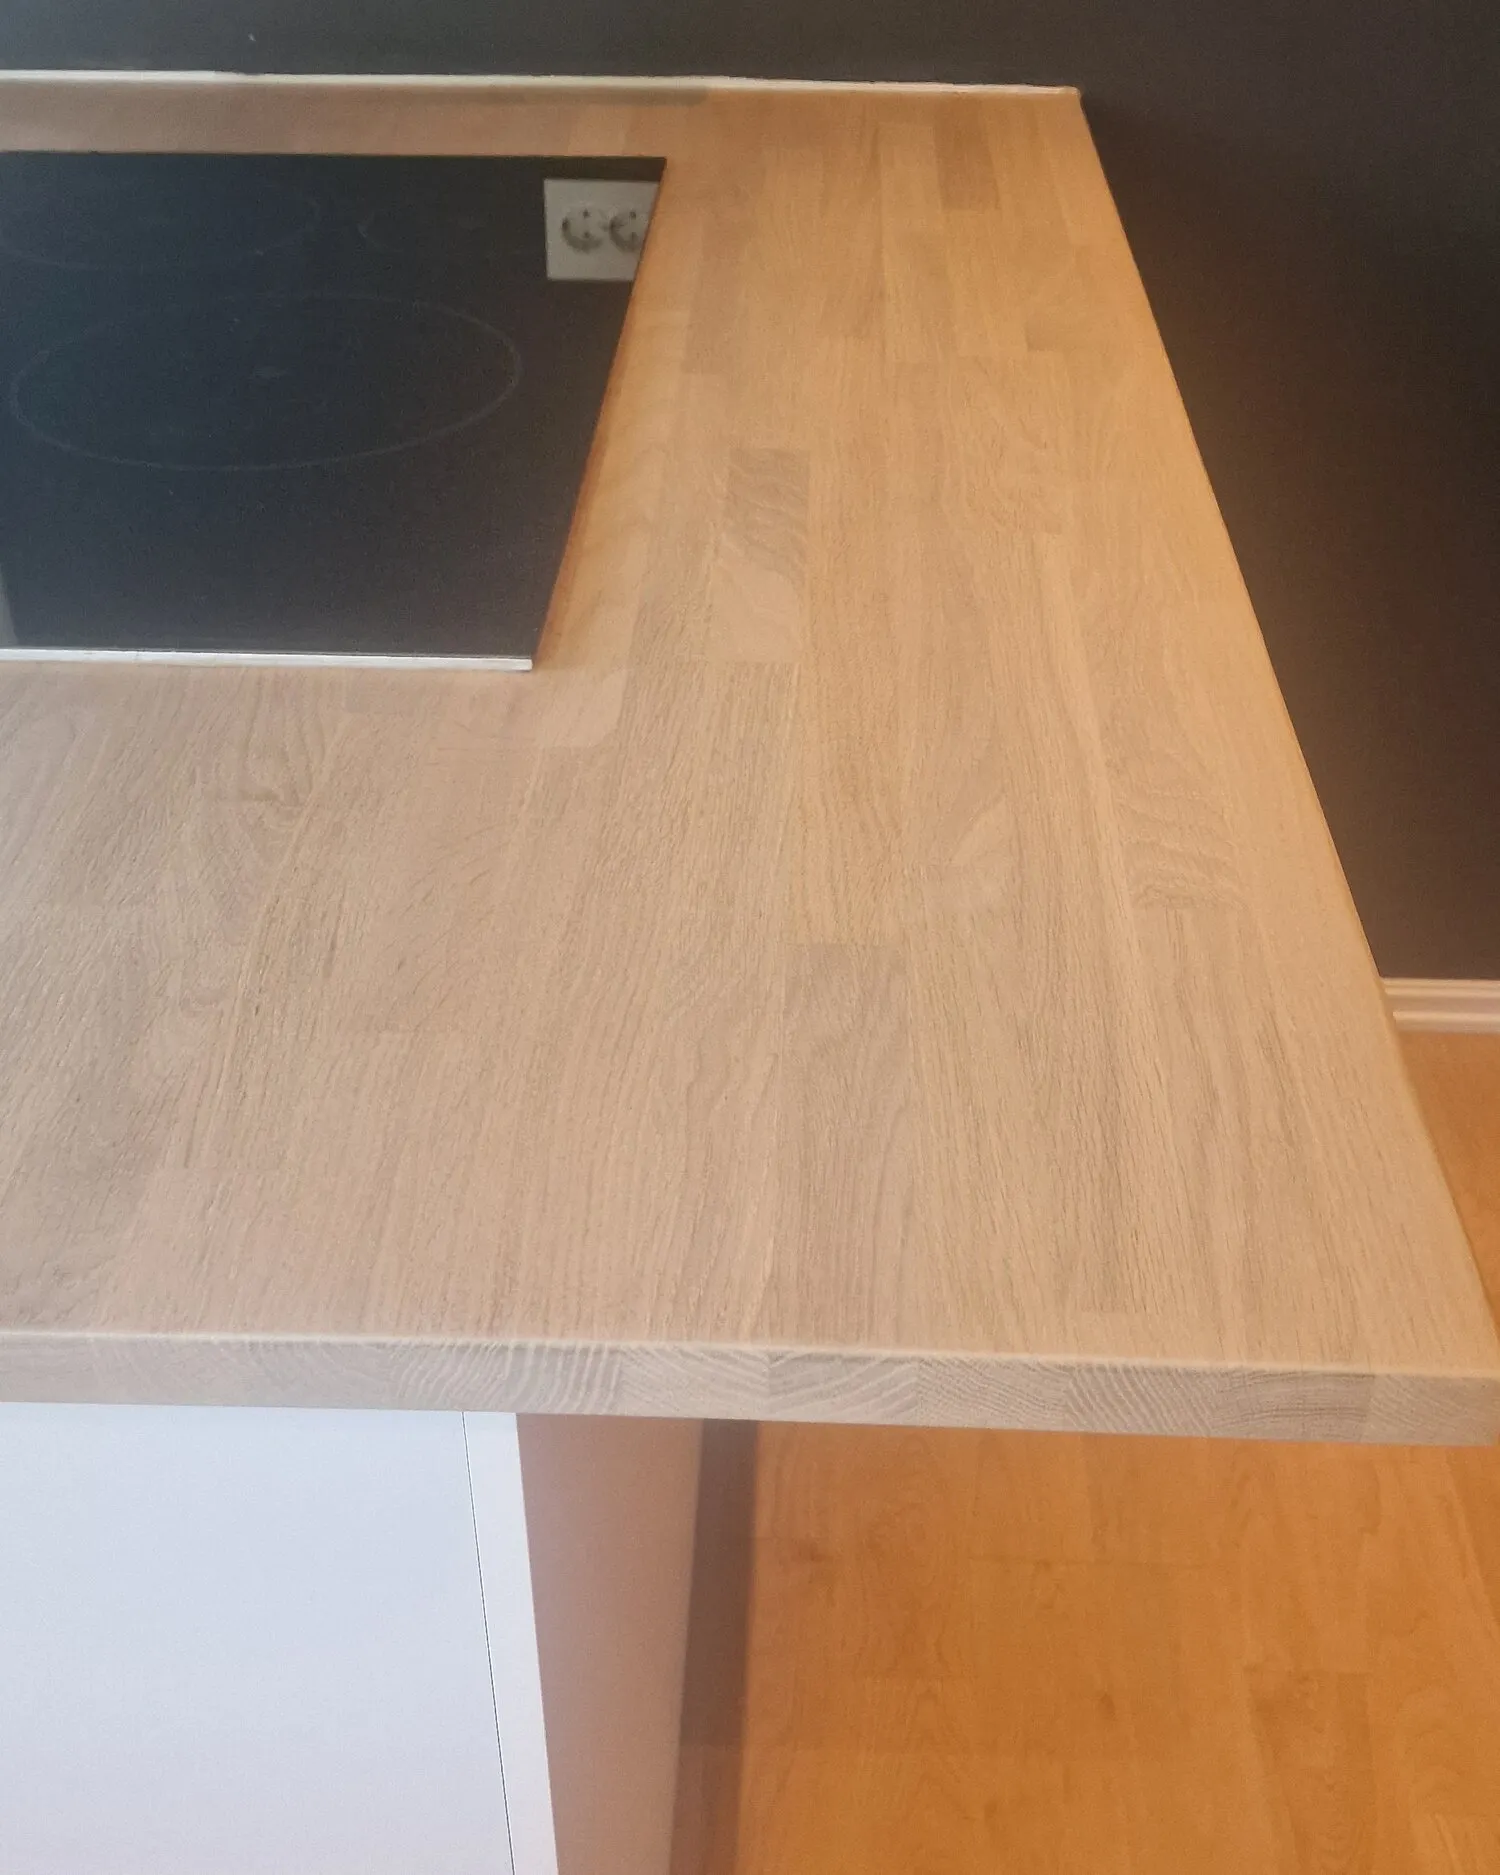
Solid oak worktop along the kitchen wall
06

Solid wood worktops

The same craft as a floor, but with less margin. A worktop is measured in millimetres, and the cut-outs for the sink and hob have to land first time.

Solid oak can be sanded back when it picks up a mark, and that is the whole point: a scratch in a laminate worktop stays, a scratch in oak disappears with a little paper and oil.

The tops are fitted on site, the cut-outs made for the sink and hob, and the edges rounded off. The surface is oiled, so it can be maintained without anything having to come apart.

  • Fitting and installing solid wood worktops
  • Cut-outs for inset sinks, hobs and taps
  • Oiled surface that can be sanded back when it picks up a mark
  • Refinishing existing worktops that have worn
More about solid wood worktops

Not sure what your floor needs?

Send us a few photos, or book a site visit. We will tell you what is possible, and what we would do ourselves.